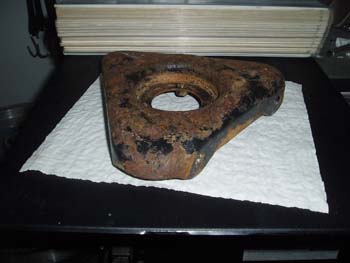
Spring Perch Rusty (20 Mar 2007)
While the frame is off at the powder coaters I've decided to work on some of the smaller parts myself. This is the lower spring and shock perch straight out of the cleaning tank. A quick scrub with Simple Green cleaned off the years of road grime and grease to reveal a rusty and pitted piece.
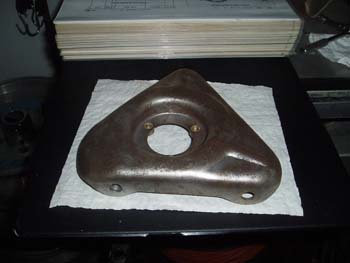
Spring Perch Blasted (20 Mar 2007)
I purchased a small blast cabinet knowing I would be cleaning lots of parts during the restoration. This is a picture of the same perch after a session in the blast cabinet.

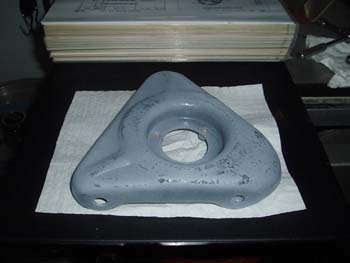
Spring Perch POR-15 (20 Mar 2007)
I decided to POR-15 all of the suspension parts for long term protection. The POR-15 comes in a kit. You clean the part with Marine clean, prep it with Metal Ready, and then brush or spray on POR-15. The product is designed to be used directly over rust, but I cleaned all of my parts because I wanted nice looking results(and there was enough rust left for the product to bond with). POR-15 is UV sensitive so if you don't want it to fade it must be cover coated. Finally, wear gloves when working with this stuff, or you'll be displaying POR-15 on your skin for days.
Perch Primed (20 Mar 2007)
Since POR-15 is UV sensitive I decided to overcoat my project. POR-15 offers their own coats, but you can overcoat it yourself with certain steps. Paint does not stick well to POR-15 when it cures, so I dusted my part while the POR-15 was tacky. The primer bonded with the outside coating and provided me with a paint ready surface.
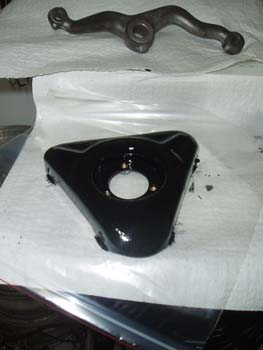
Perch Painted (22 Mar 2007)
Ok, after a few days of curing I went ahead and coated the whole project with Rust-Oleum High Performance Enamel. This should provide the final measure of protection over the whole surface. The piece in the background is the idler arm which just came out of the blast cabinet and is about to go through the whole process itself.
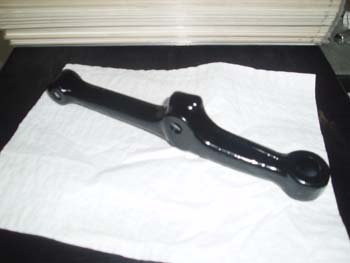
Rotor Arm POR-15 (22 Mar 2007)
The front end parts cleaned up nicely and all came out looking pretty good. It will be nice assembling the car with fresh clean parts vs. the mess I had while taking them apart.
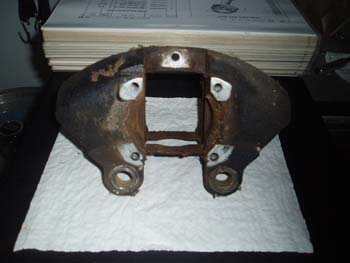
Brake Hub Rusty (27 Mar 2007)
Since the suspension parts came out so well, I decided to use the same method on the brakes. Here are the brakes prior to the solvent tank. There is lots of rust and crud right where the calipers need to go.
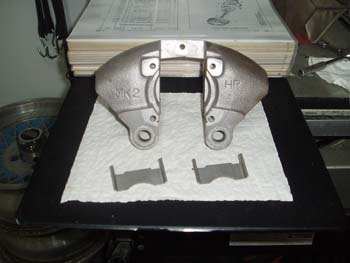
Brake Hub Blasted (27 Mar 2007)
Well the blast cabinet was worth every penny after seeing how this part cleaned up.
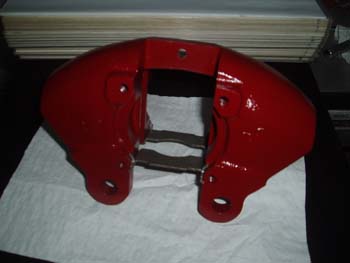
Brake Hub Painted (27 Mar 2007)
I painted the brakes with some red rotor paint to give them a little protection and throw in a splash of color. I'm using red springs and red urethane components up front, it should look good against the semi gloss black. I did have to sand off paint in the area where the brake cyl installs.
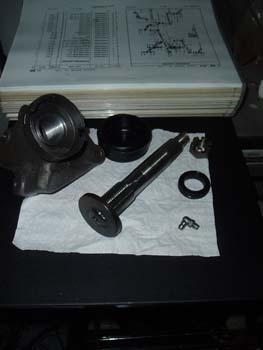
Idler Box Cleaned (28 Mar 2007)
The idler box was filled with crusty grease and was filthy on the outside. A quick trip through the solvent tank, and a blast to the outside cleaned it right up. The Idler bushing was good, but the seal had to be replaced.
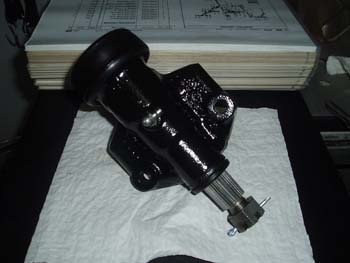
Restored Idler (28 Mar 2007)
After a quick protective coating, I lightly lubed the internals and reassembled the cleaned up piece. I will grease all of the zerks during assembly.